Sign up as an ERDA user
Note
This page is designed to help you get started with using ERDA. For SIF, check out Sign up as a SIF user.
You can sign up to ERDA either as a UCPH employee/student (Sign up with a UCPH account) or as an external collaborataion partner (Sign up as an external collaboration partner), and you must sign up before you can access ERDA.
In addition, to further protect your account, we recommend that you check our section on Two-factor Authentication.
Sign up with a UCPH account
Go to ERDA and click “Sign up”.
In the pop-up window under “UCPH OpenID”, enter:
Your UCPH username (consists of three letters and three digits)
Your personal UCPH password, which you also use, e.g. for KUnet
Then click “Yes (allow)”.
You are now registered as an ERDA user.
Sign up as an external collaboration partner
Go to ERDA and click on the External Users tab, before clicking “Sign up”.
You will be required to complete the form with your details:
Full name: Enter your full name
Email address: Your work email (no third-party email services such as hotmail, gmail or yahoo)
Organisation: The name of your workplace/company
Country: Select your country in the drop-down menu
Password: Create a sufficiently difficult password for your access. It must consist of at least eight characters and must contain a combination of lowercase and uppercase letters, digits and special characters (at least three of the four types mentioned). In “Verify password”, you repeat the password
Optional comment..: Refer to your contact who is employed at the University of Copenhagen (name + email) and indicate any relevant project, course or collaboration.
I accept..: Read the “terms and conditions” and tick the box
Your request to sign up as an ERDA will now be sent to the SCIENCE HPC Center support team, who will obtain consent from the UCPH employee regarding the collaboration.
When the SCIENCE HPC Center administrators have accepted your request, you will receive an email.
To log in, click the link in the email and log onto the service with your email address and your service-specific password, before clicking “yes”.
Two-factor Authentication
Note
To increase security, we recommend that you use two-factor authentication for all ERDA access.
With two-factor authentication, you can add an extra verification step to the login process which authenticates you. In addition to asking about something you know (in this case your username and password), an account protected by two-factor authentication will also request a token from an app you have either on your phone, tablet, or desktop.
This guide contains all necessary knowledge for ERDA.
Setup
When setting up two-factor authentication, you must complete a one-time wizard.
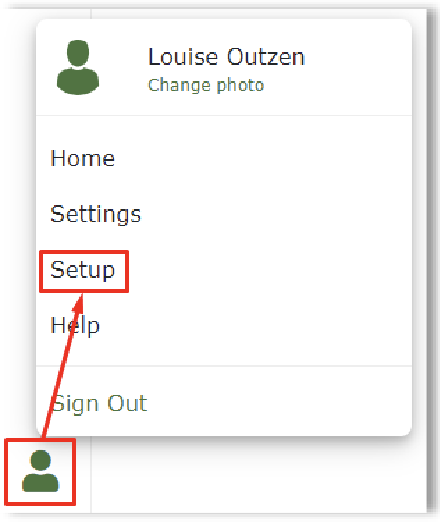
Click the green avatar in the bottom left corner. Click “Setup”.
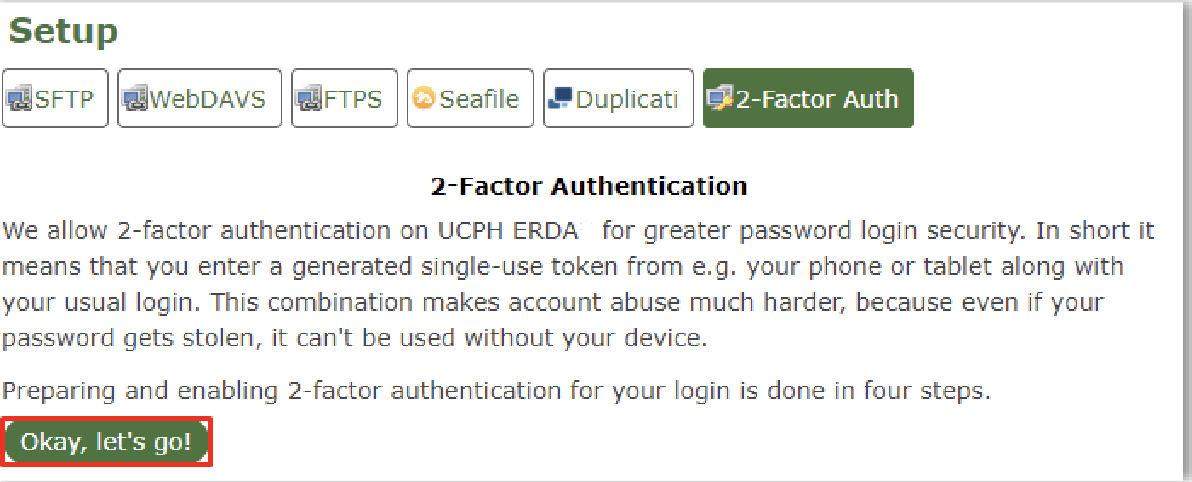
Click on the button “Okay, let’s go!”
A wizard will now appear in ERDA which you must follow, either via its text in the wizard or by following along here.
Download App
You need to install a TOTP Authenticator client on either a phone or tablet, like Google Authenticator, FreeOTP, Yubico Authenticator, Bitwarden or NetIQ Advanced Authentication. Find any of these where you normally download apps, and click “I’ve got it installed!”.
Note
If you only have a private mobile phone/tablet and you do not want to use it and are an UCPH employee, you may request a small device that you can use instead. Contact support@erda.dk for further information.
Import personal two-factor code
Import your personal two-factor code with “Scan your Personal QR code” or type your personal key code.

Example with Scan your personal QR code:
After clicking the button, a QR code pops up in either ERDA or SIF.
Open your downloaded app and find the option to scan a QR code. The screenshot below is from the Google Authenticator app.
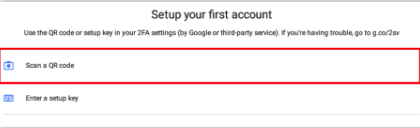
Now scan the QR code you have just opened in the wizard. Point your device’s camera at the QR code (The app may ask for permission to use your camera. Allow this). Now the app scans the QR code and you may click “Done importing” in the Wizard.
Your application should now have a profile which generates a six-digit token, which changes every 30 seconds.
Verify that it works
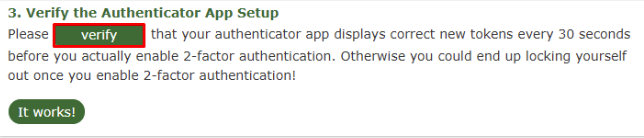
After downloading and importing your personal two-factor code, you can verify that it works properly by clicking the Verify button. A pop-up window automatically appears, and you must enter the token which shows up in your app. Please note that the token changes after 30 seconds, and will not work after that. Click the Verify button in the pop-up and it will confirm whether your two-factor is set up correct.
Enable two-factor Authentication
Tap the slider button under Enable 2-FA for KU/UCPH OpenID web login to switch it from grey/off to green/on.
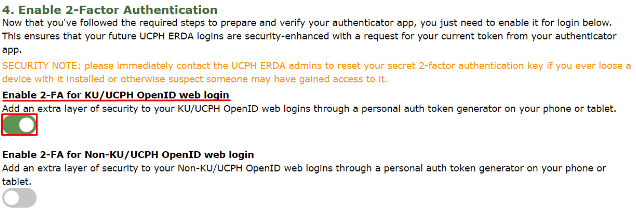
Additional two-factor authentication options for WebDAVS, SFTP and FTPS are now shown. These are protocols which you primarily need if you want to use ERDA as a network drive on your own computer.
If you are not sure whether you are going to use ERDA as a network drive, we recommend that you activate all three slider buttons by switching them to green/on.
Click Save 2-Factor Auth Settings.
Your ERDA account is now protected with two-factor authentication.