Setup WebDAVS on macOS
Setup WebDAVS
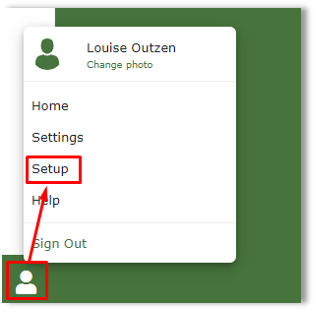
Start by clicking on the green avatar icon at the bottom left corner on the ERDA webpage, and click on “Setup”
Click on the “WebDAVS” option, and in the Login Details that is also highlighted in the screenshot below, you will be able to see your personal login details, which you will need to connect WebDAVS as a network drive on your computer.
Create a new, separate password for your WebDAVS access in the field under “Password”. The password must consist of at least eight characters and must contain a combination of lowercase and uppercase letters, numbers, and special characters (at least three of the four types mentioned).
Once you are done, click on “Save WebDAVS Settings.”
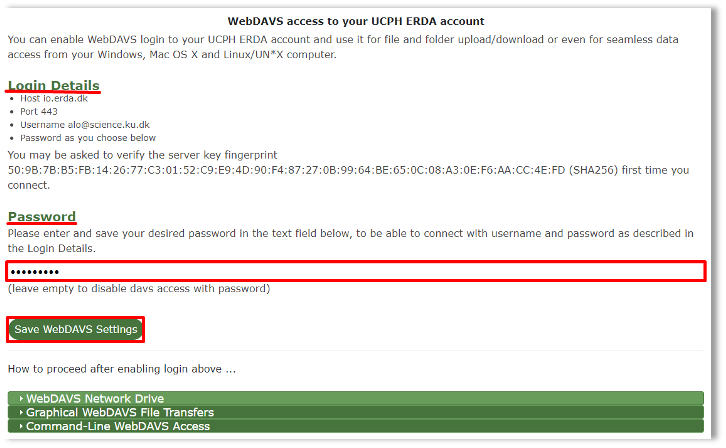
AFter that, click on the fold-out menu on “WebDAVS Network Drive”, and copy the URL https://io.erda.dk which you will need shortly.
Map Network Drive
Open “Finder” on your computer and navigate to the top to click on “Go”, before “Connect to server…”.
Insert the URL https://io.erda.dk and click “Connect”.
Make sure it is ticked to “Registered User” under “Connect As:” before inserting the information written under “Login Details” on the top of the ERDA Setup page for WebDAVS, which is your e-mail and the password you chose. Tick “Remember this password in my keychain” (only do this if you do not share your computer with others) and click “Connect”.
Tip
The password is not necessarily the same password as the one you use when you log onto ERDA’s web pages, and we recommend for security reasons that you make these two different.
ERDA is now connected as a network drive, and you have access to all your data in ERDA via your computer! When you are connected to the internet, you can work in the files in the same way as with your other local files, and any changes you make are applied directly to the files in ERDA.
Tip
Your connection will not persist through restarts, so the next time you log onto your computer, you need to click through the “Go” menu again.
Disconnect Network Drive
You can disconnect ERDA as a network drive, and we recommend this if you share a computer with others or simply if you believe that your connection will drop (if you close the lid on a laptop, let a computer enter sleep-mode etc.) as you will receive a friendly mail telling you about this, which can be disruptive.
Right click on the drive, and click on ‘Eject “io.erda.dk”’. If it complains about being in use, you can drag it to the trashbin, where it will disconnect.